
Unblur Photos Instantly: Top Tools and Techniques

Blurry photos are one of the most common issues faced by photographers—whether beginners or seasoned professionals. Nothing is more frustrating than capturing a great moment only to discover later that your image lacks sharpness. Fortunately, modern technology makes it easier than ever to unblur image details, restore lost sharpness, and save photos you once thought were unusable. If you’ve ever wondered how to unblur an image quickly and effectively, this comprehensive guide will walk you through the most reliable tools and techniques available today.
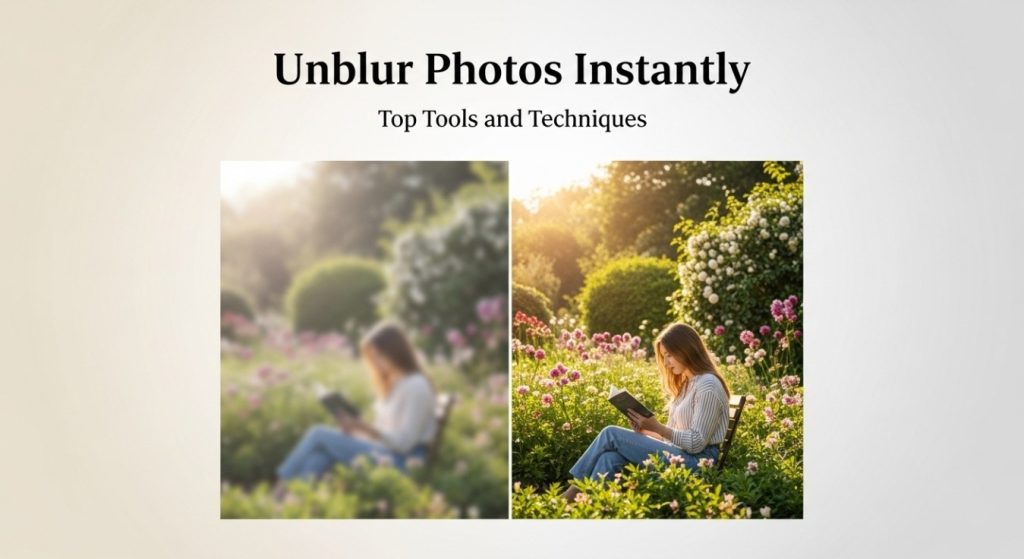
In this article, we’ll explore the main causes of image blur, the best methods to unblur an image, and important tips to prevent blur in the future. Whether you’re using a computer or mobile device, these solutions will help you reclaim the crisp details hidden inside your photos.
Part 1: Causes of Image Blur
Understanding why a photo becomes blurry is the first step in fixing it. Most blur issues fall into three major categories:
1. Motion Blur
Motion blur occurs when either the subject or the camera moves during the exposure. This is especially common in low-light conditions or when using slow shutter speeds. For example:
- Taking a handheld photo at night
- Photographing moving subjects like children, cars, or pets
- Using a shutter speed slower than necessary
Motion blur usually creates streaks or ghosting around the edges of objects, making them look like they’re in motion—even when they shouldn’t be.
2. Focus Blur
Focus blur happens when the camera fails to lock onto the correct subject or when the depth of field is too shallow. This type of blur appears soft but doesn’t show the streaking seen in motion blur. Common causes include:
- Focusing on the background instead of the subject
- Using autofocus in low-light environments
- Standing too close (minimum focus distance issues)
It’s a frequent issue in portrait photography when the camera fails to detect the face correctly.
3. Soft Blur
Soft blur is less severe but makes images appear hazy or lacking in crispness. It often results from:
- Low-quality lenses
- Dirty camera lenses or smartphone camera covers
- Poor lighting conditions
- Digital noise reduction smoothing out details
While not as obvious as motion or focus blur, soft blur reduces the overall perceived quality of an image.
Part 2: 4 Methods to Unblur an Image
If you’re ready to improve your photo quality and bring back those crisp details, here are four powerful methods—from professional tools to simple smartphone apps.
1. Using Leawo Photo Enlarger
One of the most effective ways to unblur image details is by using Leawo Photo Enlarger, a tool designed to upscale images while enhancing sharpness. It uses advanced AI algorithms to restore clarity and improve resolution, making it especially useful for blurry, low-resolution, or pixelated images.
It’s also considered one of the best image upscalers, thanks to its ability to produce clear, high-resolution results with minimal effort.
Steps to Unblur an Image with Leawo Photo Enlarger:
- Launch the Program
Open Leawo Photo Enlarger on your computer. - Import Your Blurry Photo
Click “Add Photo” and choose the image you want to unblur. - Choose Enlargement Settings
Select an upscaling ratio (2x, 4x, 6x, etc.) depending on how much detail you want to restore. - Adjust AI Options
Enable options like “Denoise” and “Enhance Sharpness” to refine the output. - Preview the Results
Compare before and after previews to fine-tune your settings. - Save Your Enhanced Image
Export the enhanced, unblurred version to your computer.
This method works exceptionally well for restoring old photos, social media images, low-quality smartphone shots, or AI artwork needing sharper details.
2. Using Photoshop
Adobe Photoshop remains one of the most powerful tools for professional image editing, and it offers several features that help you unblur an image.
Options in Photoshop for Unblurring
- Shake Reduction Filter (best for motion blur)
- Smart Sharpen Tool
- High Pass Filter Method
Basic Steps Using Shake Reduction Filter:
- Open your image in Photoshop.
- Go to Filter > Sharpen > Shake Reduction.
- Photoshop automatically analyzes the blur trace and applies corrections.
- Adjust the settings like Blur Trace Bounds or Smoothing to refine the result.
- Apply and save the sharpened image.
Photoshop provides unparalleled control but requires more experience compared to AI-based tools. It remains the favored choice for professionals.
READ MORE : https://spiritmeans.com/
3. Using Fotor
Fotor is an easy and accessible online tool perfect for beginners who want to unblur images quickly without downloading software.
Steps to Unblur Using Fotor:
- Visit the Fotor website.
- Upload your blurry photo.
- Choose the “Sharpness” tool under the editing panel.
- Adjust the slider until your image appears clear.
- Download the enhanced version.
Fotor is ideal for quick fixes—especially for social media users or anyone editing photos on the go.
4. Using Remini (Mobile App)
When you need a fast and effective method on your smartphone, Remini is one of the top apps for restoring clarity. It uses advanced AI to rebuild lost details, making it extremely popular for portraits.
Steps to Unblur with Remini:
- Install Remini from the App Store or Google Play.
- Open the app and select the “Enhance” feature.
- Upload your blurry photo.
- Let the AI process the image.
- Save or share the improved result.
Remini is perfect when you need high-quality enhancement quickly without editing experience.
Part 3: Tips for Preventing Blur in Photos
Although you can unblur an image using tools, it’s always better to avoid blur altogether. Here are some essential tips:
1. Maintain Proper Focus
Always check your camera or phone’s focus before taking the shot.
- Tap on your subject (mobile)
- Use continuous autofocus for moving subjects
- Use manual focus in low-light or macro photography
2. Capture in High Resolution
Shooting in the highest available resolution allows better detail recovery. Higher resolution images maintain clarity even when edited or cropped.
3. Use RAW Files
RAW files contain significantly more detail and dynamic range compared to JPEG.
This helps tremendously during the unblurring process and overall image restoration.
4. Avoid Over-Sharpening
While sharpening enhances clarity, too much can create noise and halos around edges.
Balance is key—aim for a natural, clean look.
Part 4: Conclusion
Blurry photos don’t have to be a lost cause. With the advancements in AI and image processing, it’s now easier than ever to restore clarity and bring your photos back to life. Whether you prefer professional tools like Photoshop, quick online editors like Fotor, mobile apps like Remini, or AI-powered solutions such as Leawo Photo Enlarger, there’s a method for every skill level and need.
By understanding the causes of blur, choosing the right tool to unblur an image, and following preventive techniques, you can ensure your photos always look sharp, crisp, and professional. So the next time you find yourself asking how to unblur an image, remember—you have multiple powerful solutions at your fingertips.